Have you ever been consumed by the desire to find a location by a picture? You may have found a photo of a charming landscape or cityscape. Or you have an old photo of your loved ones and would love to track down its origin. Fortunately, there are a variety of techniques and picture location finder tools that can help. Here we’ll talk about how you can analyze any photo to uncover where the picture was taken.
Top Benefits of Finding the Location of a Picture
In itself, finding the location of a picture is a wholesome benefit, especially if you are just intellectually curious to understand the world around you. However, there are many more reasons to do so:

- Reminiscing old times: Finding the exact location where a cherished photo was captured is a fantastic move.
- Travel planning: Perhaps you found a photo of an off-the-beaten-path destination and would love to plan and add it to your Travel itinerary.
- Fact-checking: Finding the location of a picture may help verify the origin and authenticity of the image.
- Organize your photos: Finding the location where a photo was taken may help you organize or categorize them as you like.
- Safety: It may help when you need valuable insights about identifying potential risks or threats within a location.
How to Find the Location of a Picture on Windows & Mac
One of the best ways to uncover the location of a photo is by examining the EXIF (Exchangeable Image File Format) data. The EXIF data is like a hidden diary embedded within your digital images. It stores diverse information about that image, including the camera used, date and time of capture, and GPS coordinates of the location where the photo was taken. However, note that not all photos contain GPS location data. The EXIF data you obtain depends on, if you have the original photo and are using a GPS-enabled device. Hence, in some cases, photos may have been stripped of their EXIF data. That said, some Windows and Mac devices have built-in tools that can enable you to read the EXIF data on the photos stored there.
👉On Windows:
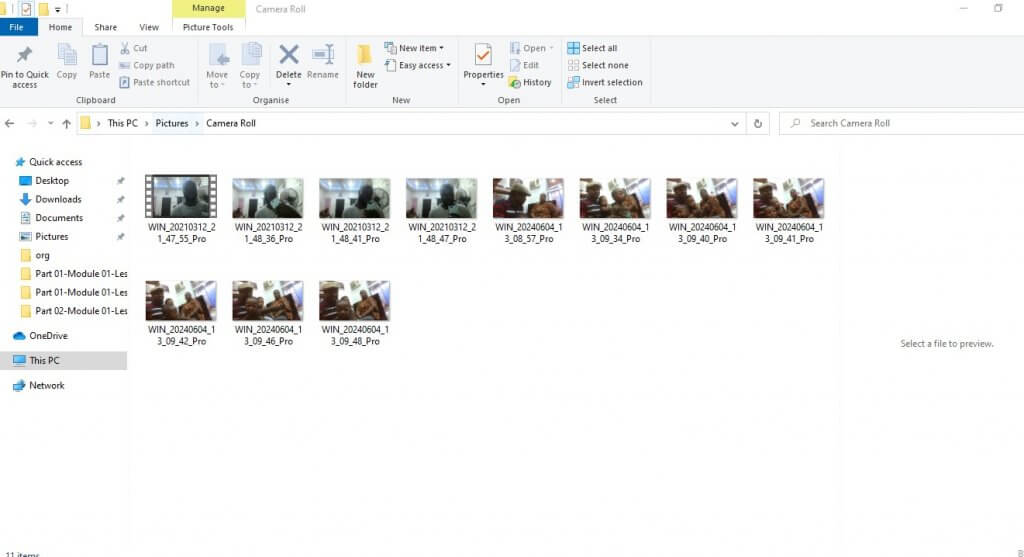
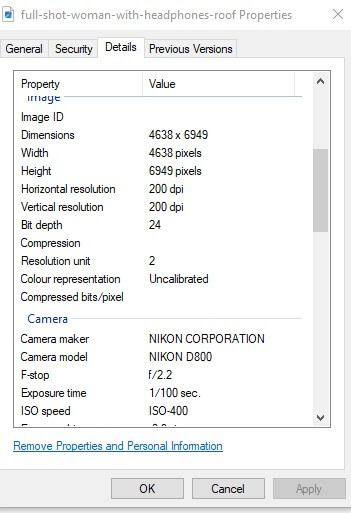
- Tap on the image file and “right click”
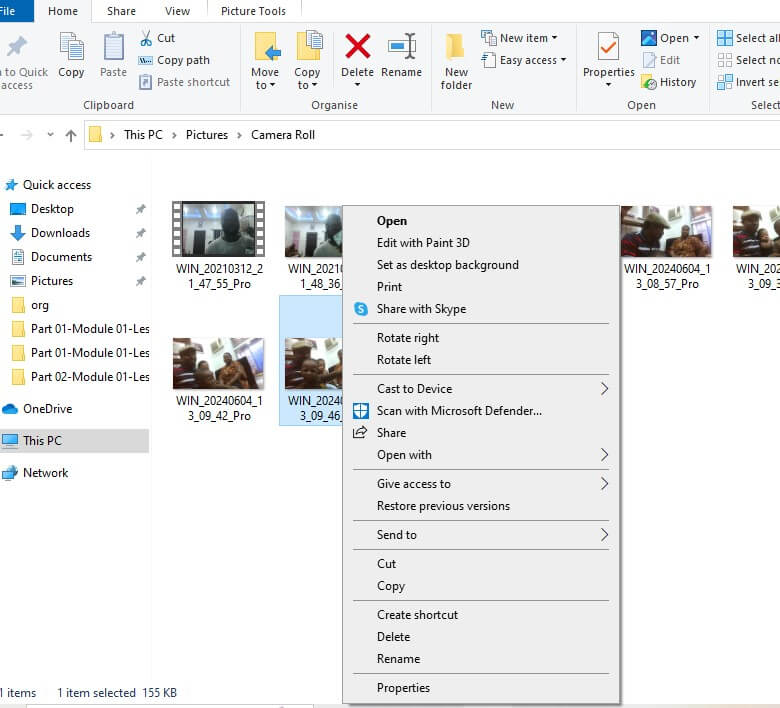
- Next, select “Properties.”
- Tap on the “Details” tab.
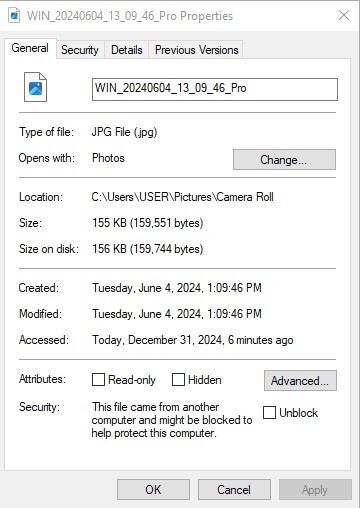
- Look for fields like “GPS Longitude” and “GPS Latitude.” If available, it should help you pinpoint the precise location where the photo was taken.
👉On Mac computer:
- Go to the photo you wish to check on your computer
- Right-click on the image and select “Get info”
- Scroll down to tap “More info”
- Look for “latitude” and “longitude” data at the bottom.
How to Find Out Where a Photo Was Taken on iPhone & Android
Your smartphones also have built-in image location finder features you can exploit to check the metadata of that photo.
👉On an Android smartphone, you can find location by picture using these steps:
- Go to the image via your Android’s native photo app.
- View the image
- Select “Action Overflow” and tap on “Details”
- You’ll see a card containing details about the photo. If there’s any location data, you’ll find the Map information at the top of the card.
Please note, that you must have previously enabled your phone to record the specific spots where your photos were taken. You can do this by:
- Go to your smartphone’s Settings app
- Select “Location” or “Location Services”
- Toggle on “Use Location”
- Within the “Location” settings look for “App permissions” or “App access to location”
- Find the “Camera” app (or any other camera app you use”
- Mark “Allow all the time”
👉On Apple iPhones and iPads, here’s how to find the location of a picture:
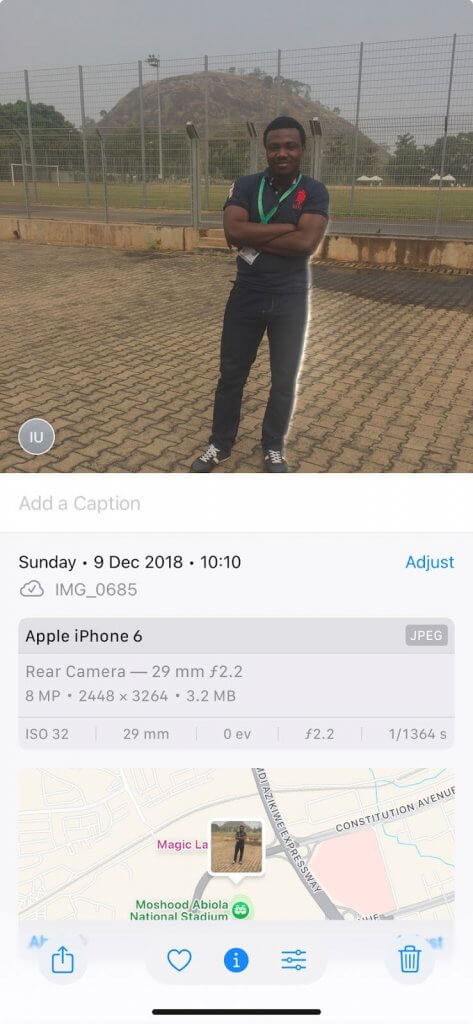
- Open your iPhone’s Photos app.

- Tap on the photo you wish to check.
- Select the “i” icon at the bottom of the page.

- Now, you can scan details about that photo. If there is location data, it will be displayed on a map.
On Apple iPhones and iPads, you also need to turn on location tags for your photos by following these steps.
- Open the Settings app.

- Go to “Privacy & Security”

- Tap on “Location Services”
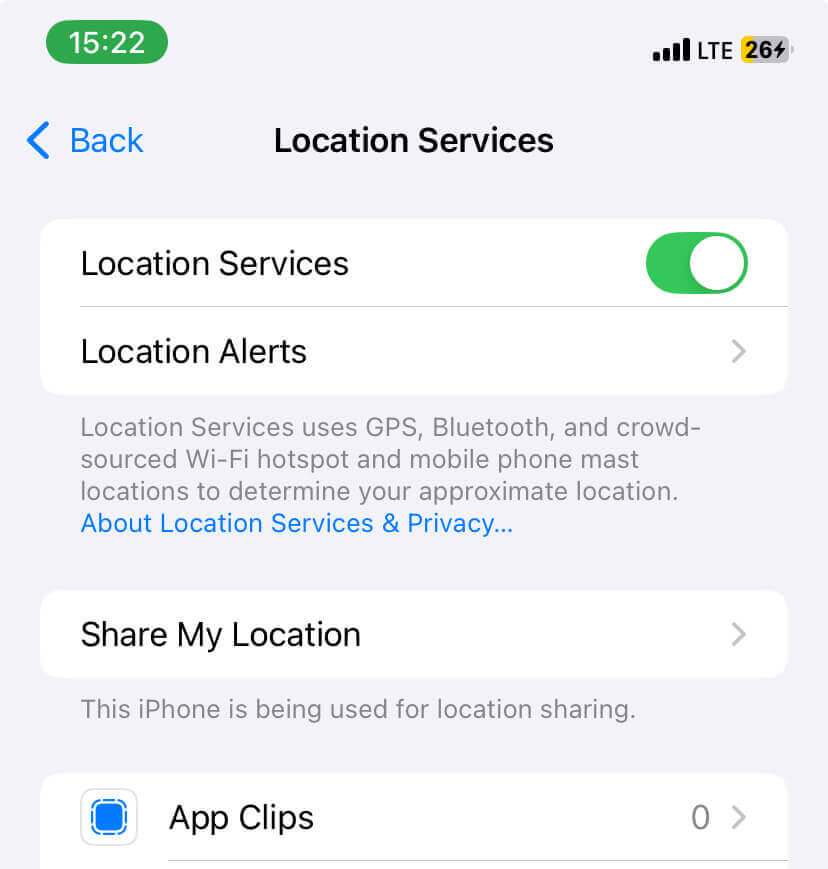
- Find “Camera” within the list of apps.
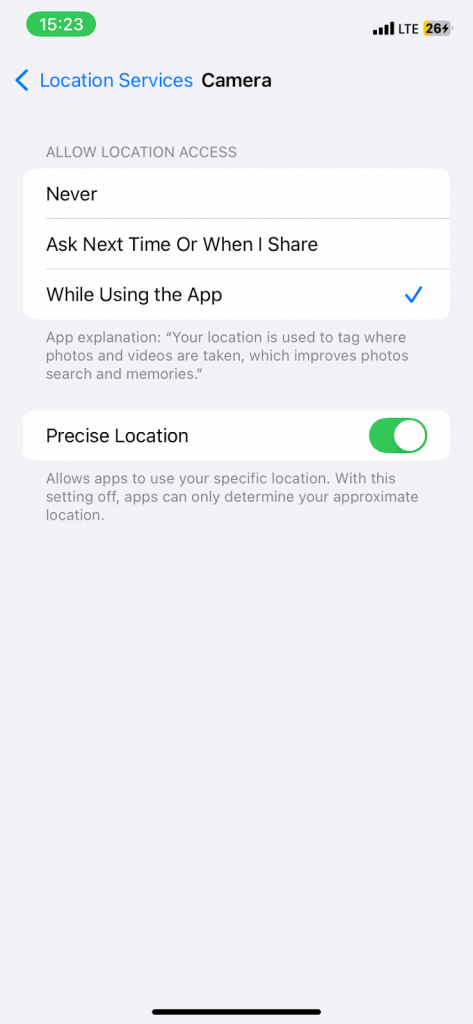
- Select “Camera”
- Mark “While Using the App”
How to Turn GPS Coordinates to a Location on a Map
For the most part, your EXIF data would be in GPS coordinates. So, you need a way to transform that into a tangible location on a map. For this purpose, you can leverage two systems, either using Google Maps or Google Search.
Using Google Maps
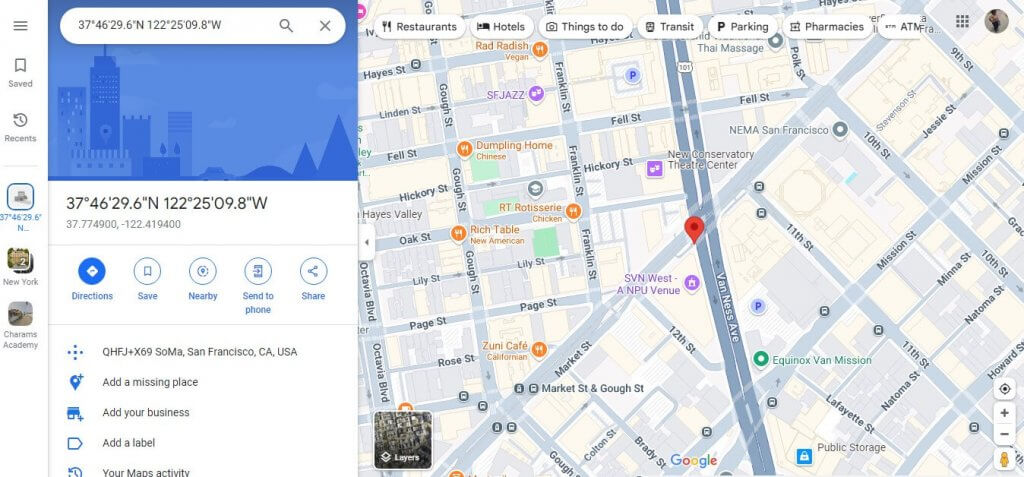
- Open the Google Maps app or go to the Google Maps website.
- Enter the GPS Coordinates as they are in the correct format (e.g 37.7749, -122.4194)
- Google Maps will automatically show the location on the map.
Using Google Search
- Launch Google search
- Type in the GPS coordinates.
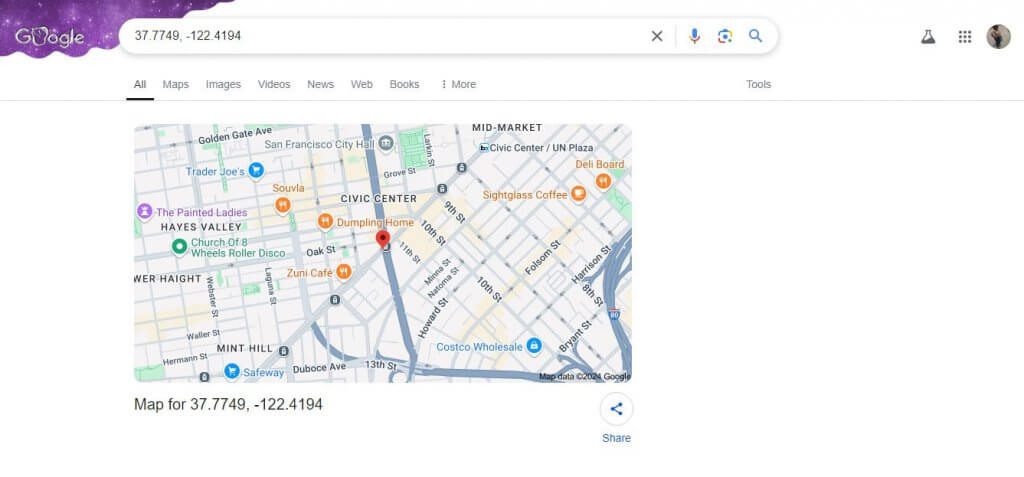
- Google Search automatically shows the location on a map.
Alternative Methods to Find the Location of a Picture
Besides using the native apps and built-in tools on your devices, you can also use targeted picture location finder tools for your search. These tools and techniques offer more valuable insights, especially when dealing with pictures that don’t have embedded GPS coordinates or location tags. Here we’ll talk about how you can find location by picture using a variety of great image location finder solutions.
Use EXIF Viewer Tools
Dedicated EXIF viewer tools can analyze your digital images, to find their metadata including GPS coordinates if available. Let’s talk about some popular EXIF viewer tools you can try.
RawPics
RawPics is a great web-based EXIF viewer that’s pretty easy to use. You don’t need to create an account or do anything much without being able to view the metadata embedded in your pictures. Plus, it’s a great tool for removing the metadata if that’s what you desire.
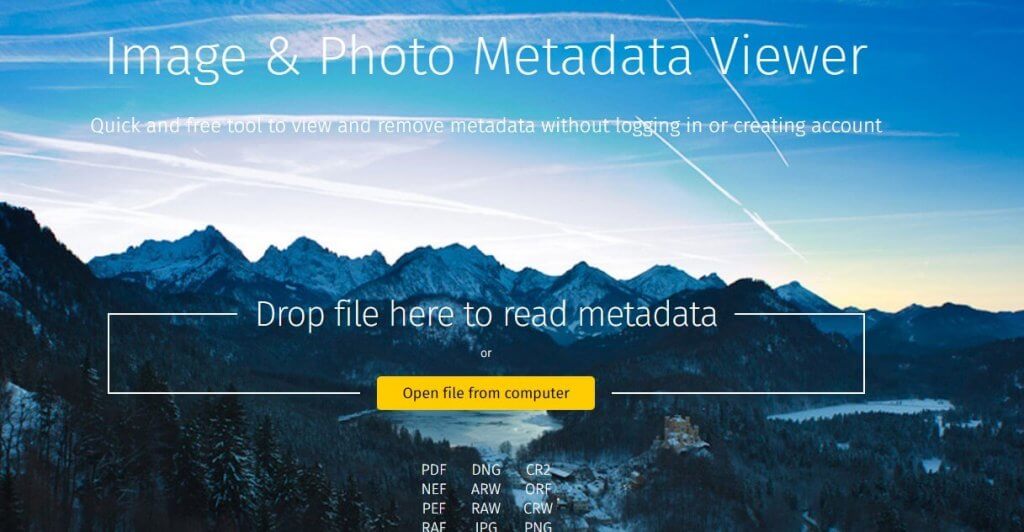
- Go to RawPics.
- Either drag and drop the image file or tap on “Open file from the computer.”
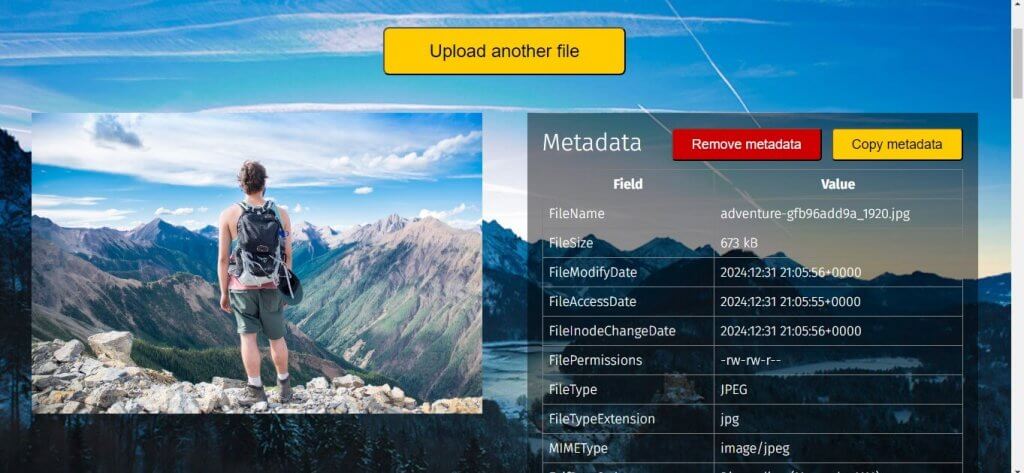
- If the location data is available, you’ll see that under the “GPS” column when you scroll down the metadata results.
Irfanview
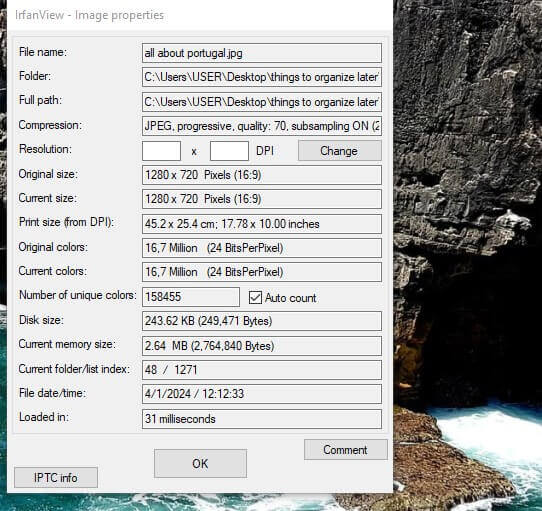
Irfanview is an amazing photo editing tool that allows you to also read the metadata on any photo. It’s super beneficial for when you want to edit a photo, while also getting valuable insights from its metadata. However, it works as a Windows app, requiring installation on your computer. Here’s how it works:
- Go to Irfanview.com.
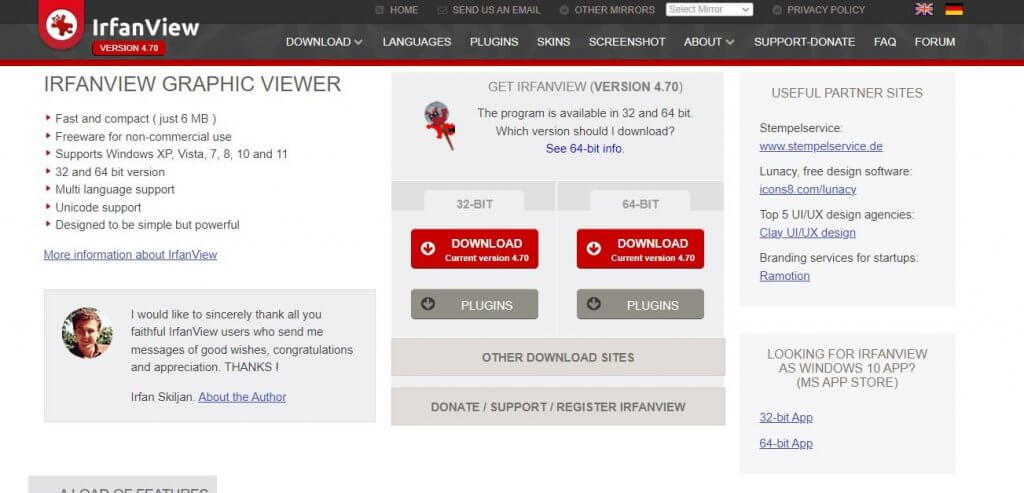
- Tap on “Download” and pick the option available for your Windows computer.
- Once installation is complete, launch the app.

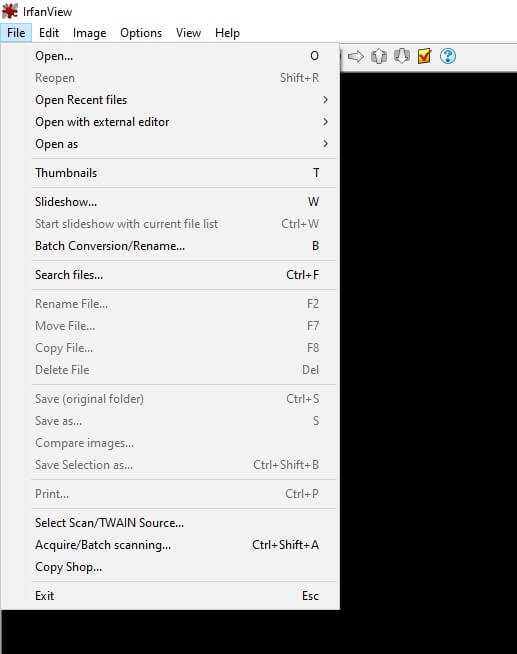
- Tap on “File” and then “Open.”
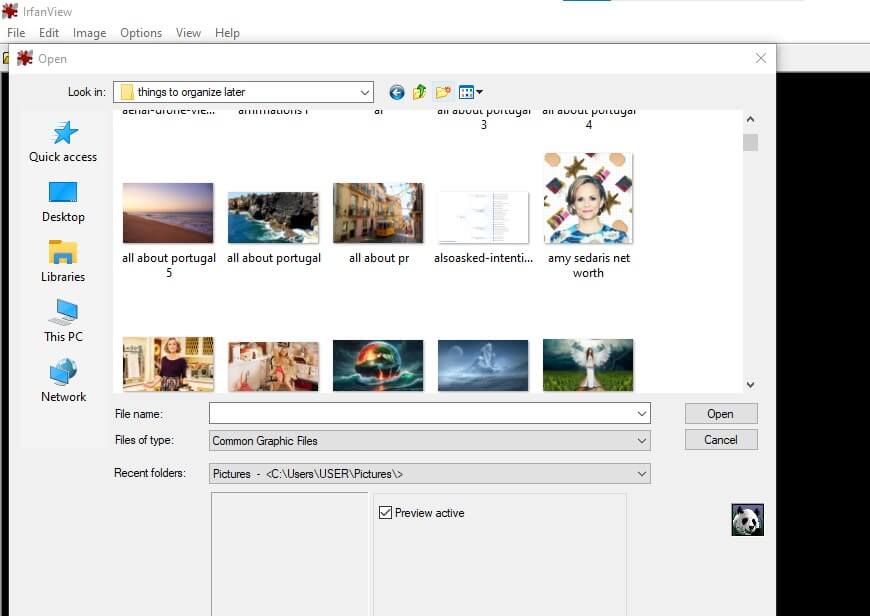
- Select the image from your computer.
- Now, tap on “Image” in the top menu.
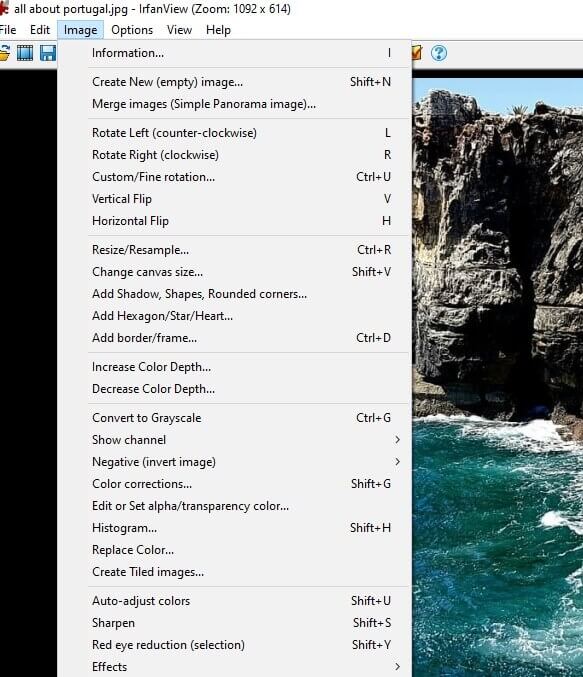
- Click on “information”
- Browse through to find GPS or location data.
GeoCords
GeoCords is a great location finder by picture tool. Specifically, it’s dedicated to helping you unravel the GPS coordinates of almost any image in a few seconds.
- Go to GeoCords.
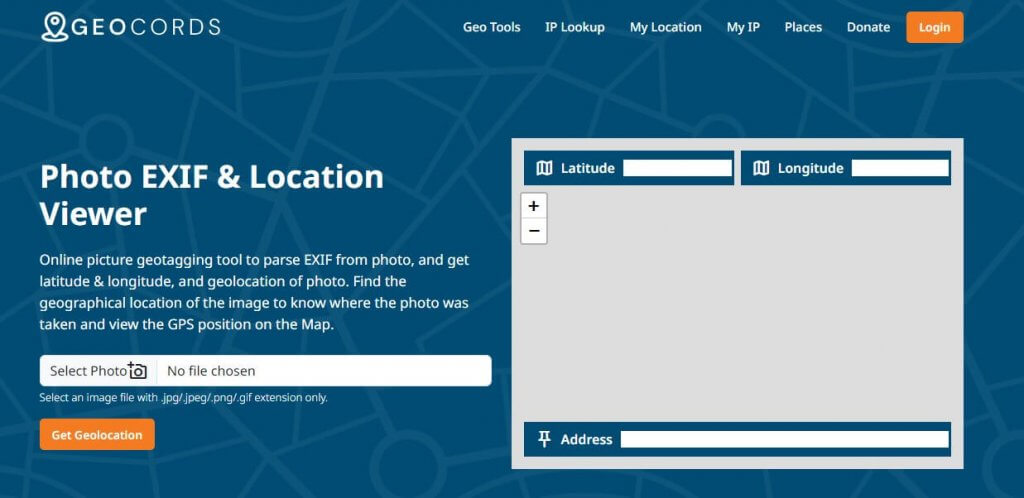
- Tap on “Select Photo” and pick a photo from your computer.
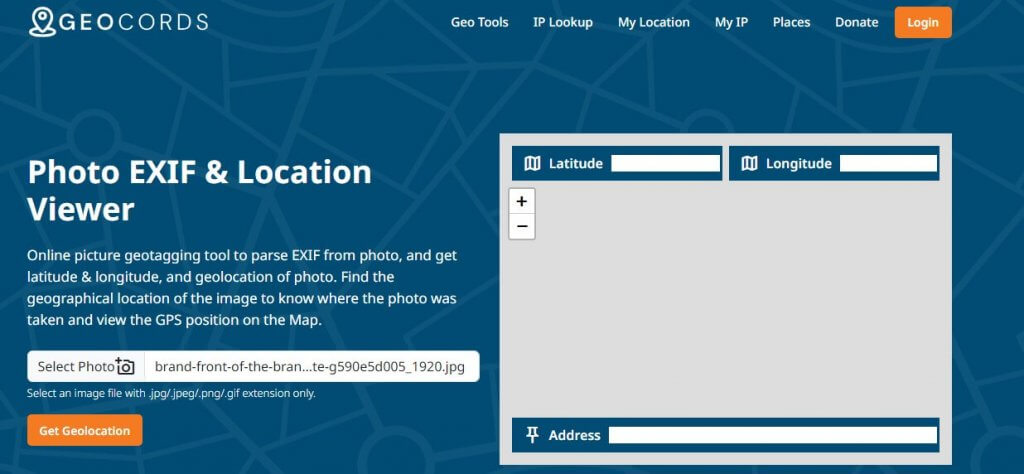
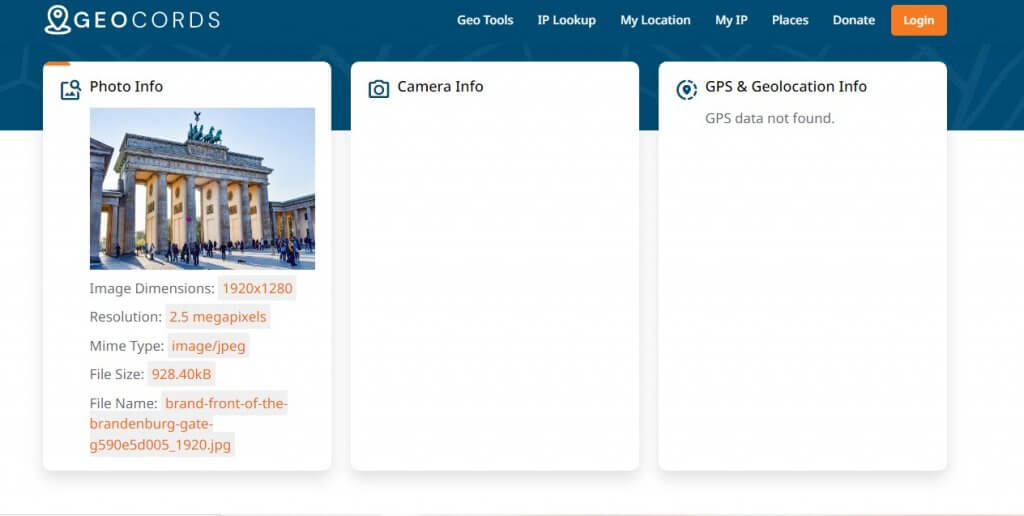
- Next, click on “Get Geolocation.”
- If available, you’ll see the location data under “GPS and Coordinates”
Linangdata
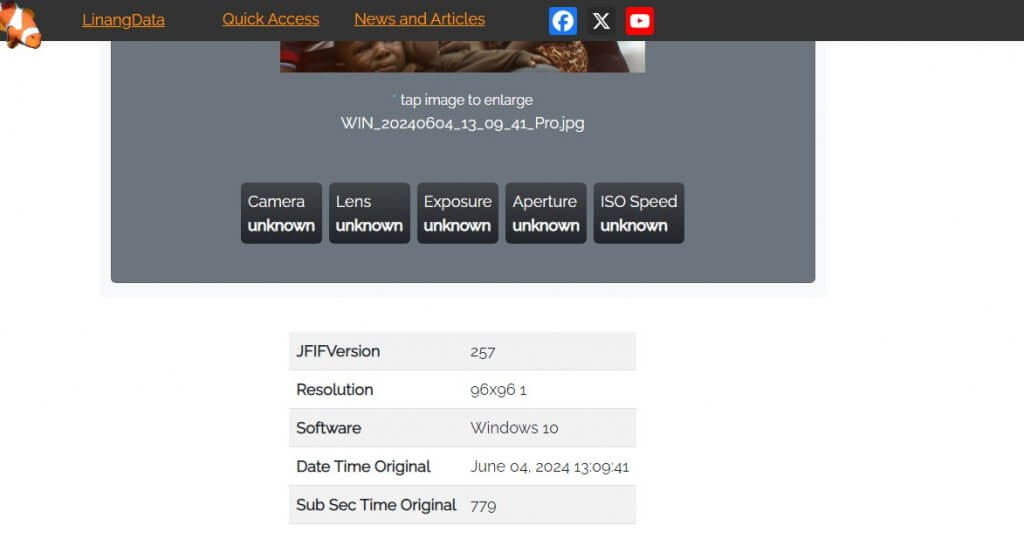
Linangdata is also a fabulous tool that helps you read the metadata on your digital image files. However, it’s not the best way to read location data on images, as the only details it often brings to light are resolution and the time the photo was created. Here’s how it works:
- Visit Linangdata.
- Tap on “ Choose an image on your device.”
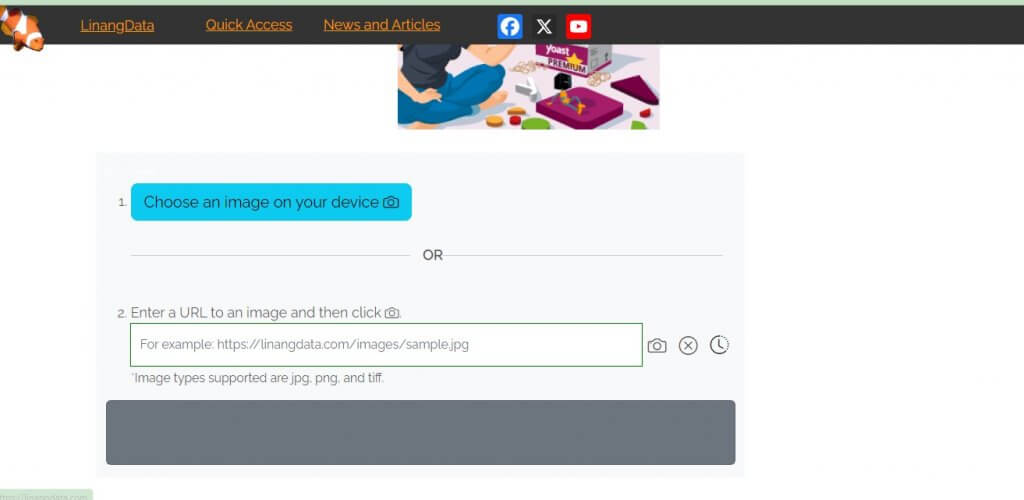
- See the metadata for that image.
Reverse Image Search
If your EXIF reader isn’t providing the correct results, then you need to carry out a Reverse Image Search. This uses a powerful technique that involves analyzing the content to find visually similar images or instances online. Doing this can help identify the source of the image, thereby accessing clues about its origin and results.
Google Image Search
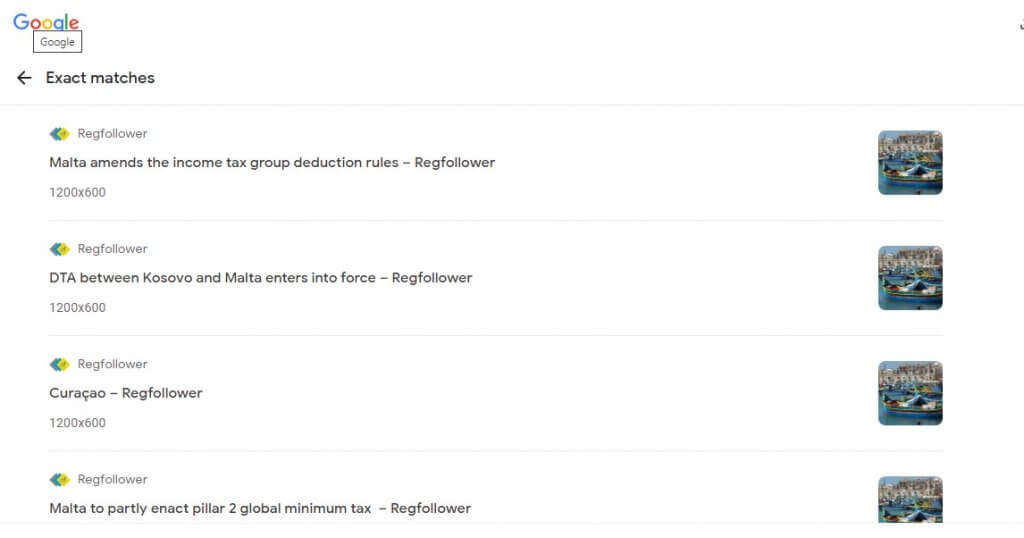
The Google Image search is a powerful tool for identifying the location information of any image on the internet. It’s a subtool within the Google search but here you search using images instead of words and phrases. So, typically, you upload an image or paste an image URL to find close matches across the internet. It’s also one of the best ways of finding insights about photos especially when their EXIF data has been stripped away. This is because Google Image Search would attempt to find any close matches across articles, websites, comments, and more.
- Go to Google Image Search.
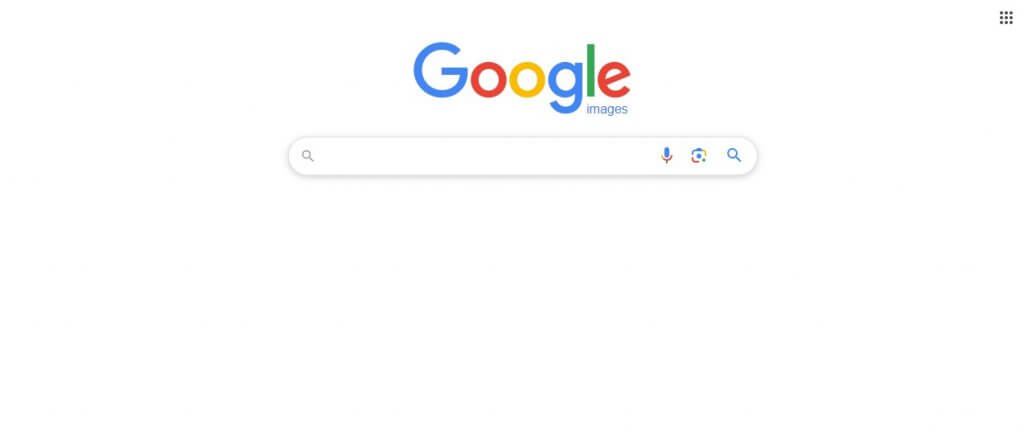
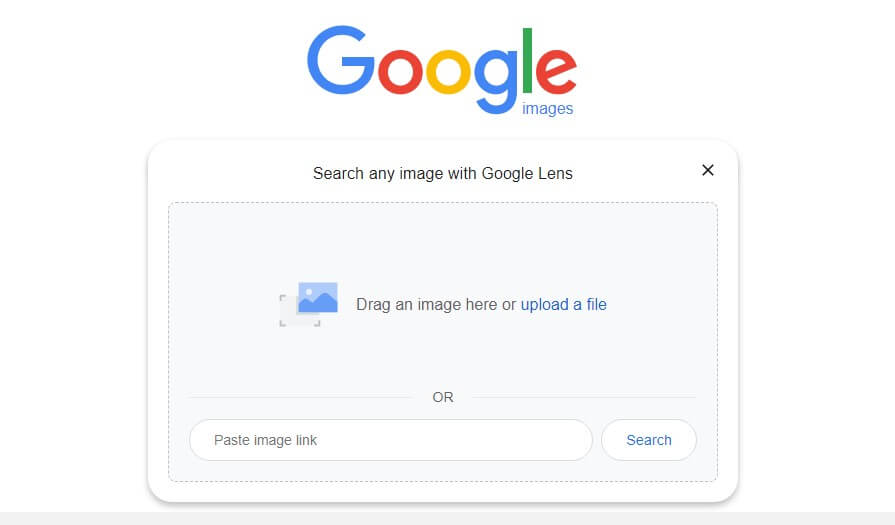
- Tap on the image or lens icon.
- Select how you wish to upload your photo.
- Browse through the results.

- Or select “Find Image Source” to attempt to filter to the most precise results that can help you find the location by picture.
TinEye
TinEye is also a powerful image location finder tool. This unique website combines computer vision, image recognition and reverse image search to make your results infinitely better. So, instead of simply finding close matches over the internet, TinEye attempts to find the actual image file for you. Here’s how it works:
- Go to TinEye.

- Select how you wish to upload your photo
- Browse through the results.
- Tap on any and inspect the original website for details about where the picture was taken.

Use Online Location Identification Tools
Many more free and paid solutions can help you find the geolocation tags on your images. These tools often analyze not just the image file but the object within those images.
Google Lens
Google Lens and Google Image Search might appear as different tools. But they usually work together, except when used via your smartphone. In this case, your Google Lens tool can attempt to understand your images by helping identify landmarks within the image or places depicted in the photo.
Here’s how it works:
- Open the Google Lens app on your iPhone or Android phone.
- Tap on the “lens” icon.
- Select the “photos” icon right next to the big search button.
- Pick a photo from your collection.
- See how it scans and provides similar visual matches across the internet.
Sitecam
Sitecam also allows you to evaluate and extract GPS data from your photos. It’s a great browser-based tool that does not upload your photos or store them anywhere. It merely analyzes and provides insights into the location of that photo.
- Go to Sitecam.
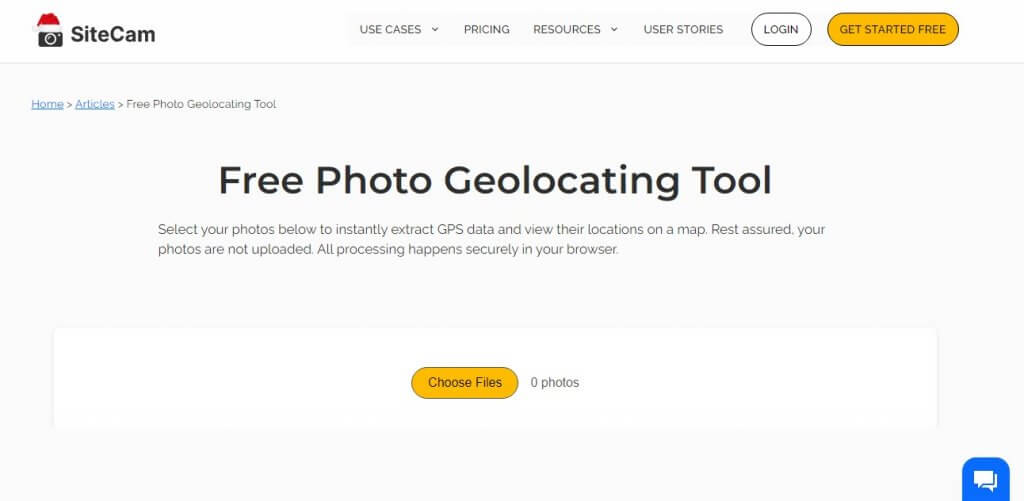
- Tap on “Choose Files.”
- Select photo.
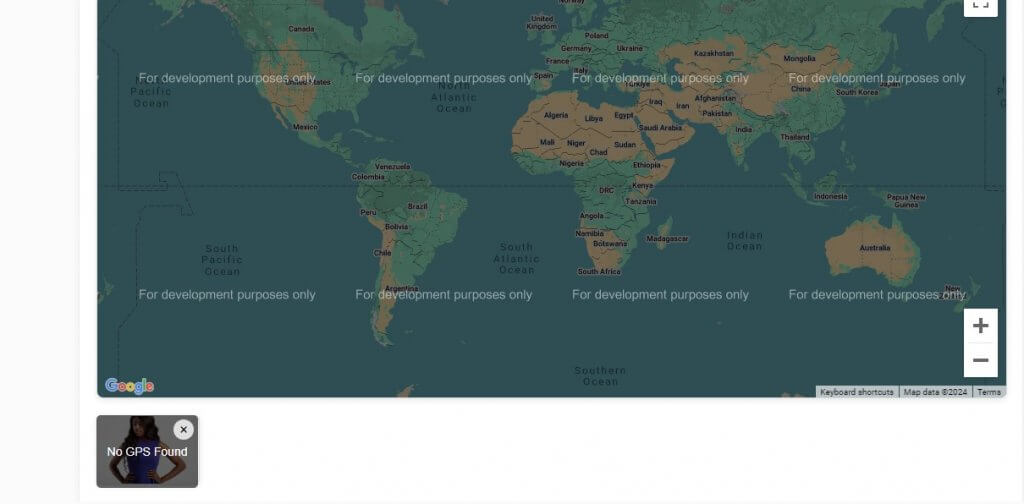
- If available, you’ll see the GPS location within the displayed map.
Picarta
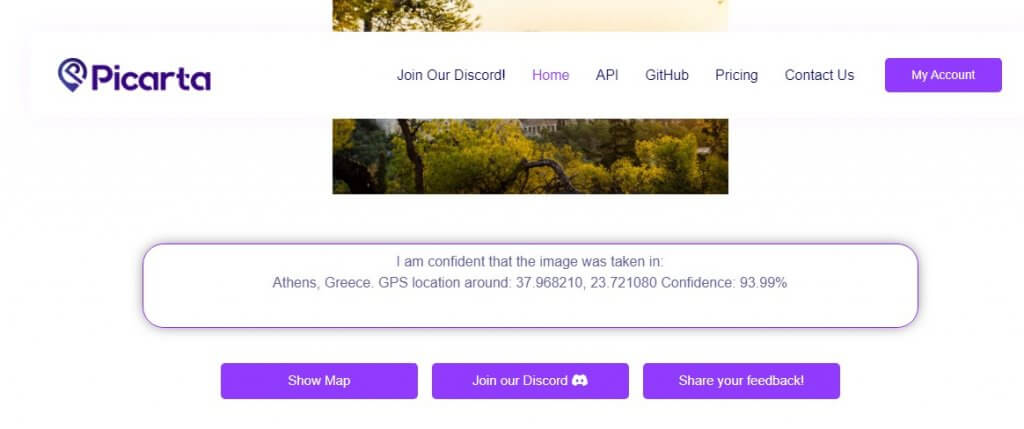
Picarta is also an image location finder tool that you can use. This tool leverages artificial intelligence technology to provide more insights about wherever your photo was taken in the world.
- Go to Picarta
- Tap on “Upload a photo” or paste your photo link in the bar beneath that.

- Tap on “Specify location” and tap again on “Search location”

- Next comes some of the location details.

- Tap on “Register” and enter your details.

- Now you can access the precise location coordinates.
Pic2Map
Pic2Map also analyzes your image to help find where it was taken. It does this by analyzing both the EXIF data embedded within and the objects on the image. Here’s how it works:
- Go to Pic2Map.
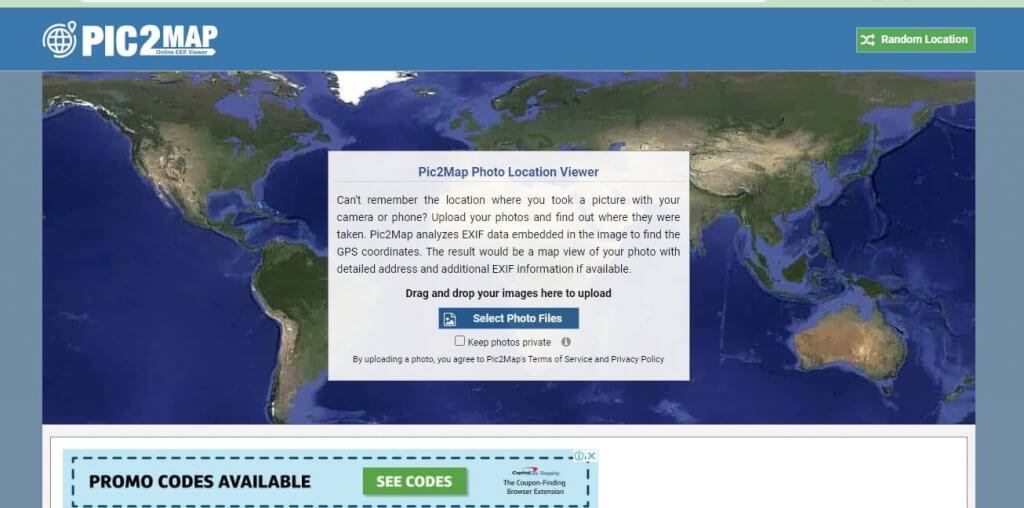
- Tap on “Select Photo Files.”
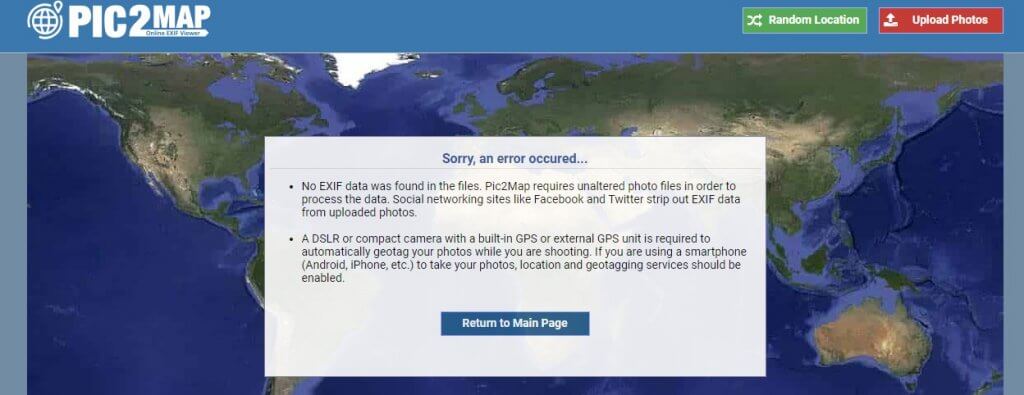
- If available, Pic2Map will display the EXIF data. Otherwise, it would show “Sorry, an error occurred…”
Search on Google
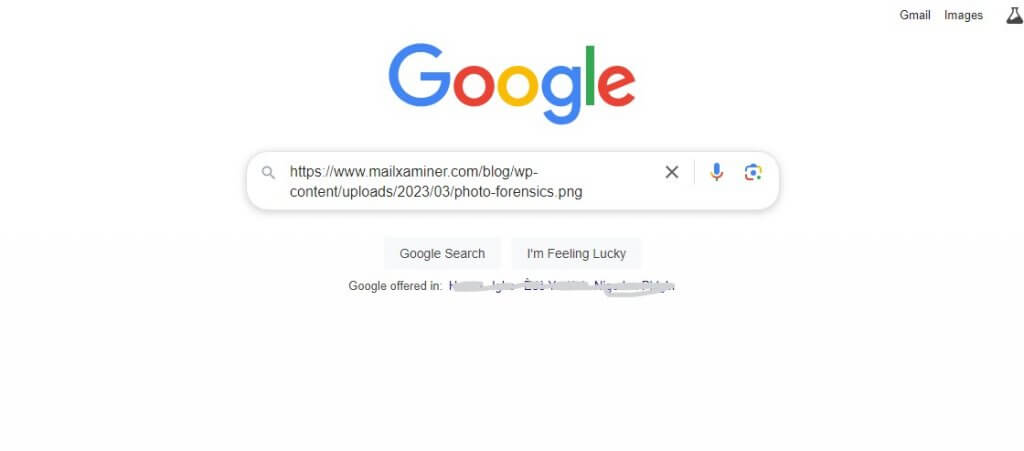
You don’t have to use Google Image Search to upload and analyze your photo. If you have the file link, you can use Google Search directly to analyze your photos. Here’s how:
- Go to Google Search
- Paste your Image Link and that’s it. Press Enter.
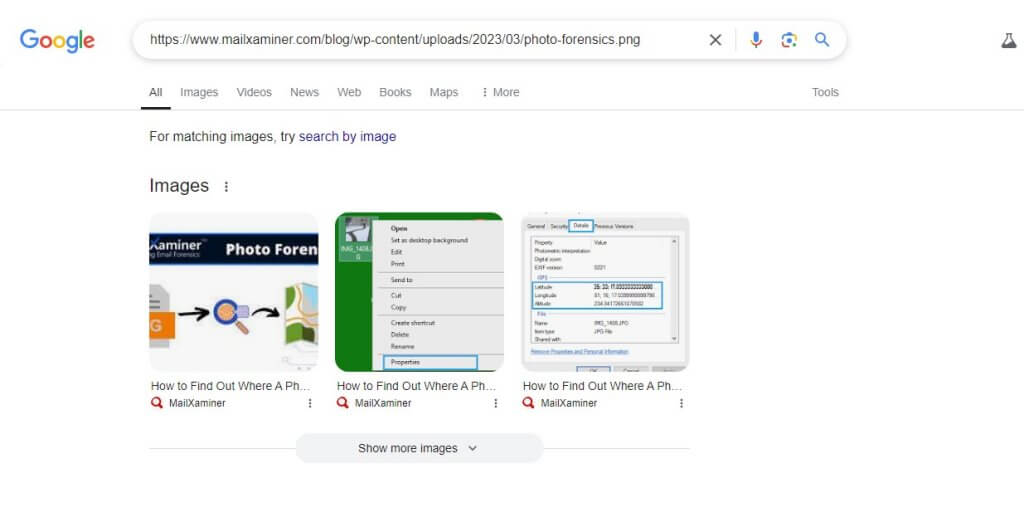
- Google finds websites with similar or original images.
Analyze Visual Elements in the Picture
Some photos also contain objects that can serve as landmarks and help identify where they were taken. This especially happens if the photo includes popular buildings or other structures that can help you identify them.
Asking Online Communities
You can ask your friends on social media platforms like Reddit, Instagram, Facebook, or Twitter to help you find where a picture was taken. All you need to do is make a post online with a captivating caption and invite others to guess or provide correct answers about the location where that photo was taken.
How to Disable GPS Location Tagging in Your Photos
Perhaps, you don’t want the photos you take on your smartphone to keep records of the location where you took them. Fortunately, there are a variety of ways to stop this from happening.
👉On Android:
- Open “Settings”
- Tap “Location”
- Then select “App permissions”
- Go to “Camera” (or other apps you use for taking your pictures like Snapchat)
- Choose “Deny” or “Ask every time”
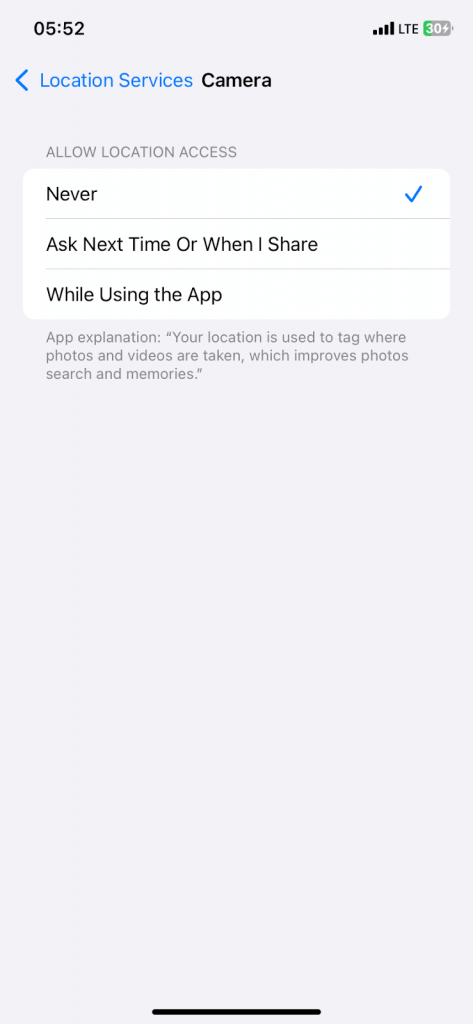
👉On iPhone:
- Go to “Settings.”

- Tap “Privacy & Security.”

- Next, select “Location Services”

- Find “Camera” within the list of apps.
- Next, pick “Camera” and mark “Never”
FAQ
Are GPS coordinates always accurate in photos?
No, the GPS coordinates you found on a photo aren’t always accurate. It might be because of weak GPS signals caused by obstructions while taking the photos, the accuracy of the GPS receiver in your device, software glitches, or if the photo has been edited and the original GPS data altered or removed.
How to find when a picture was taken?
You can find where a photo was taken by reading the metadata embedded in that photo, either using your smartphone’s camera or photo app. Alternatively, you can look at the image properties using your computer. Image editing software like Ifranview and Adobe Photoshop may help display the EXIF(metadata) data. There are other websites where you can upload the image and view its EXIF data.
Can I determine the location of a picture taken by someone else?
If you have the original file, you can use the photo app on your phone to read the EXIF data. You can also use several EXIF viewers online to check. Alternatively, upload the image on Google Image Search or TinEye to access clues to the origin or location.
Can EXIF data be removed from a picture?
Yes, you can remove the EXIF data from a picture especially when the location reveals too many details. You can use your smartphone or computer’s image editing software to do this. Alternatively, you can use a third-party EXIF data removal tool to remove all or specific aspects of the metadata.
Can I find the location of a picture without viewing EXIF data?
Yes, you can use other methods of determining the location of a picture without using the EXIF data. The best tool for this is reverse image search using Google Images or TinEye, to help track down the original file. Also, geolocation tools like Google Lens may analyze features or landmarks within the image to help pinpoint where it was taken.
Wrap Up
Learning how to find a location by picture is a fantastic adventure. Here you’ve uncovered how to read the metadata on your photos, and use a variety of techniques to analyze and investigate the source of an image online, among others. Remember the success rate of these Image location finder tools and techniques depend on a variety of factors. The presence of embedded metadata or specifically GPS data, how clear the image is and the availability of online resources all play a role. That said when you combine the methods we’ve shared, you can improve your chances of achieving better results.

